How To Mod Your New Nintendo Switch And Joy-Con Controllers
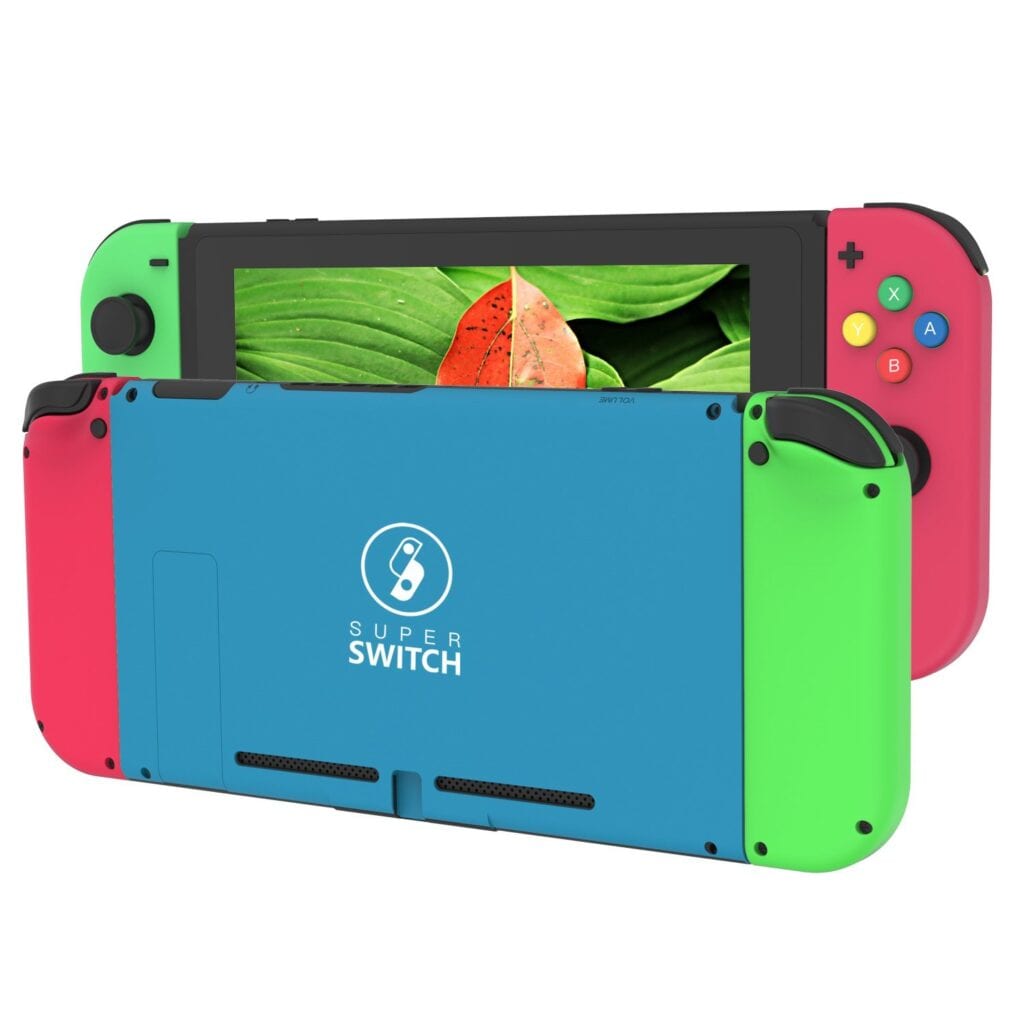
Are you a new Nintendo Switch owner and already bored of the monochomatic or simple two-toned color schemes for Nintendo’s current console hybrid? Even with the limited edition versions, the designs are so limited. With the special edition console design based on Monster Hunter XX in Japan, there was shiny and subtle overlay over the main console unit. Others have a unique carrying case and differently colored Joy-Cons, otherwise they’re exactly the same as the original.
There are other methods like adhesive skins, but those may end up compromising the cosmetic integrity of the Nintendo Switch. However, if there are gamers faring on the side of adventurous, this Nintendo Switch mod may be just the solution for that. Fair !WARNING! from one console owner to another: these modifications will null and void the manufacturer warranty, so take caution before deciding to move forward. Depending on your skill level, this may be a time-consuming project, since it requires taking apart the console and putting the entire thing back together. Now, without further ado, here’s how to get started to get new Nintendo Switch looking a little something like these:
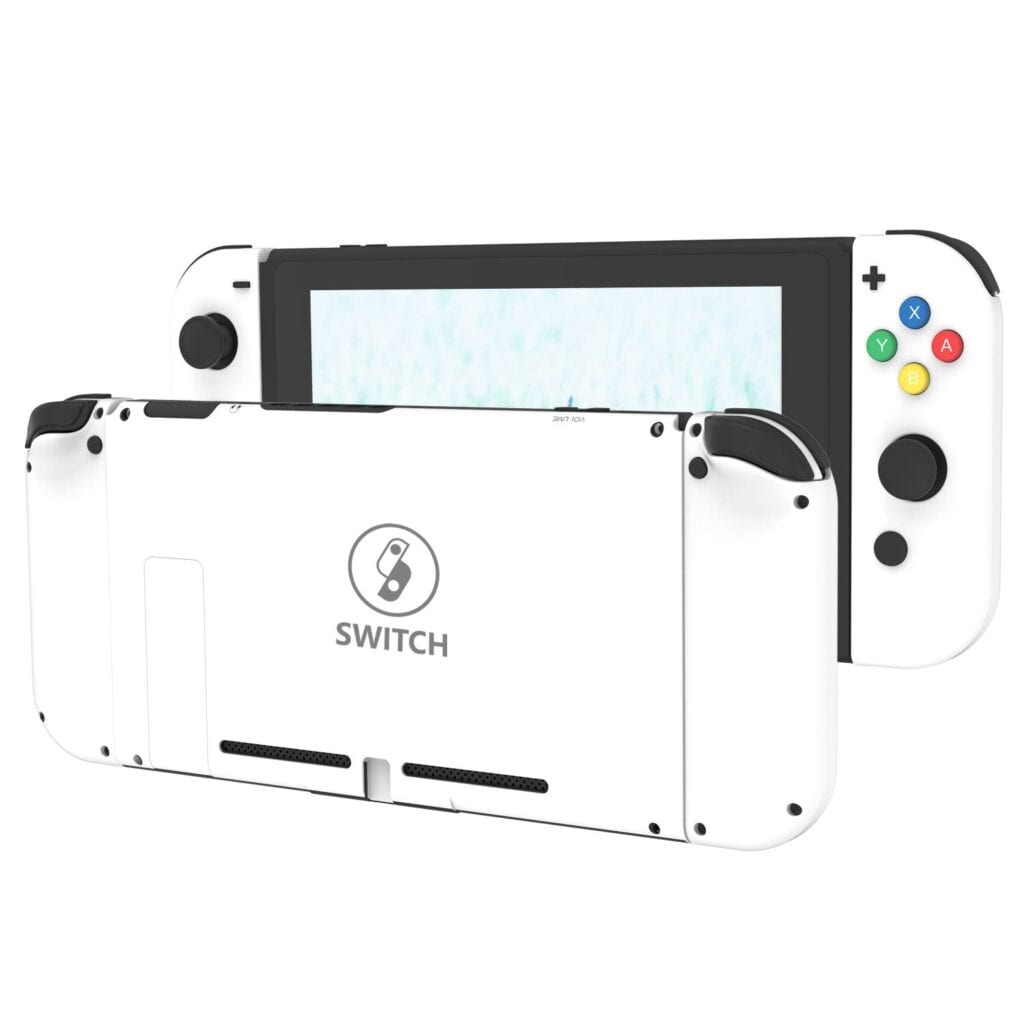
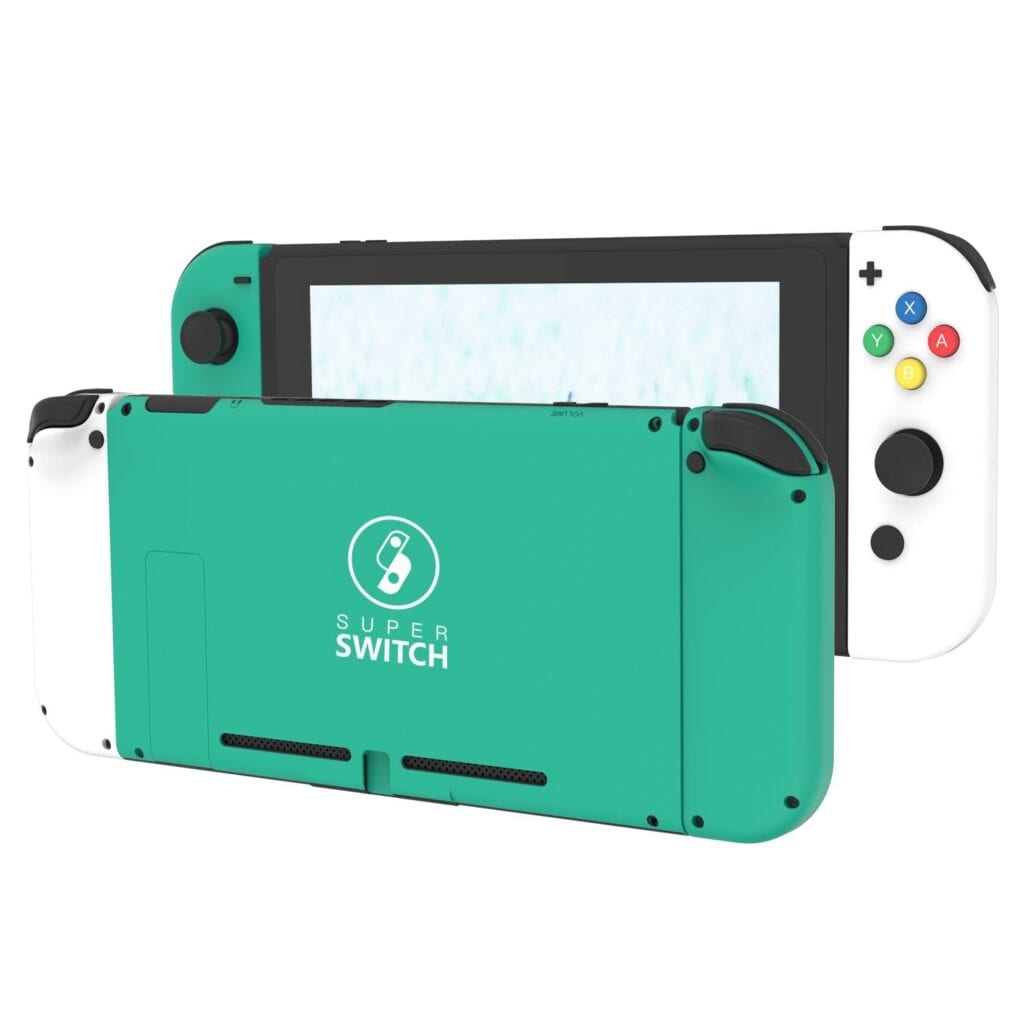
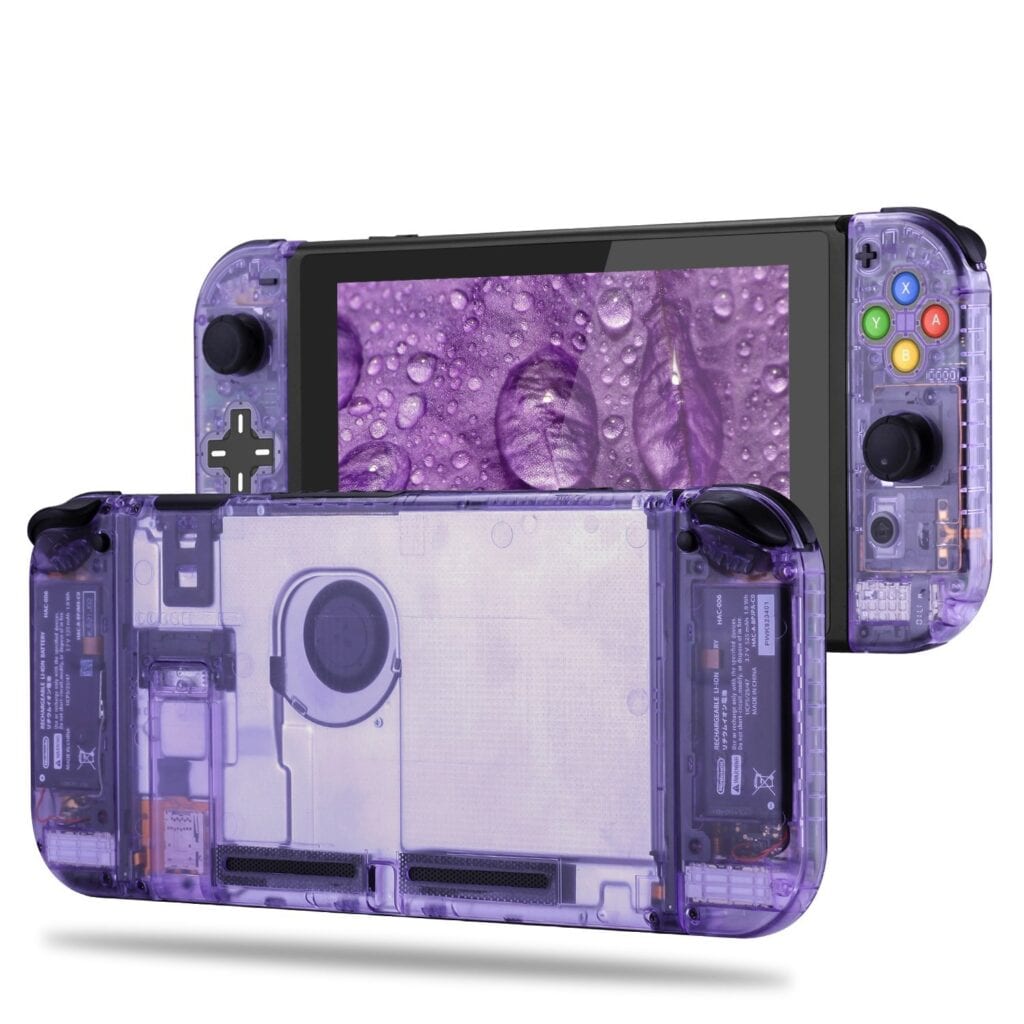
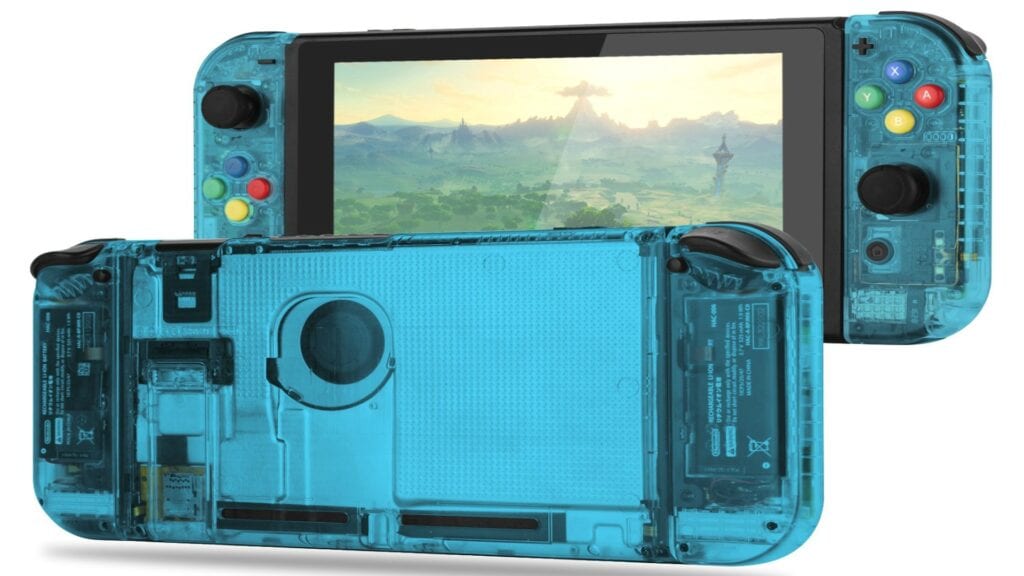
To get started on your custom Nintendo Switch mod, cases like these translucent ones reminiscent of Nintendo Game Boys can be purchased on Amazon or Etsy, but a bit of personal handiwork is required to bring these looks to life. The tools you’ll need are: tweezers, a pry tool, philips head screwdriver, and a twi-wing, screwdriver. Let’s begin with the main Switch console, the case back and dock before moving on to the Joy-Con controllers.
The Main Nintendo Switch Console
In order to take apart the main Switch console, take the tri-wing screwdriver to remove the 4 screws of the case back. It may take some patience and work since manufacturing did a good job of lodging those in there, but eventually they’ll come out. The same goes for the 6 screws found on the edges of the main console, one at the very top, 2 on the bottom, 2 on the Joy-Con tracks, and one beneath the kickstand. Then there are the 5 screws on each side of the main Switch – only the center ones require removal. After that, the back should be easy enough to remove with a bit of prying from the appropriate tool.
Next, remove the game card cover and kickstand from the original Nintendo Switch before placing them on the new purchased back cover. In order to do so, unscrew the card cover’s single philips head screw and the 2 on the kickstand. There’s also a tri-wing screw on the kickstand that holds the bar down that needs to be removed. Then place these in the very same position on the new case and re-insert the screws.
To reassemble the main area of this Nintendo Switch mod, simply snap on the new and improved back on the Switch and place 4 tri-wing screws in each corner. Replace the 6 screw on the edges with the largest 2 on each end, the smallest one for the kickstand, and the final 3 for the top and bottom.
The Joy-Con Controllers
For the LEFT Joy-Con controller case, first begin by removing the 4 tri-wing screws from each corner then use the pry tool to carefully wiggle off the back casing. Since it’s attached to cables, make sure not to pull it too far out. Next, remove the battery with the pry tool once again and wiggle it underneath until the pops out. There may be some resistance here because there’s double-sided tape holding it down, then pull the battery cable from the Joy-Con to unplug it.
Unscrew the 3 screws from the inner piece – one in the corner by the bottom of the Joy-Con and two beneath the battery in the top-right and bottom-left. Taking a pair of tweezers to disconnect 5 ribbon cables from the board – there are two attached to the back, one inner, one blue ribbon for the joystick, and the last one attached to the minus button toward the bottom of the controller. To do so, lift the black and grey flaps and gently pull out the cable.
Now, for the board and buttons. The L-button just pops right out so go ahead and remove that and set it to the side. Unscrew the 2 screws keeping the joystick in place, then follow up with the two holding down the board on the front side of the Joy-Con. Carefully, take the pry tool to remove the white block near the bottom, which is held by double-sided tape. As you move forward with modifying the left Joy-Con, don’t flip or turn it unless you want all the buttons to fall out. There are 3 more screws to remove, holding down the wiring on the minus button, and simply remove those with the appropriate screwdriver.
To move these buttons over to the brand new left Joy-Con case, remove the rubber covers on the buttons with tweezers, then place them in the corresponding areas. Make sure they sit snug in the holes for the buttons or else they won’t be secure for maximum gameplay enjoyment, so be sure that the notches on the buttons line up correctly. If the opposite problem occurs and the buttons are in there too tight, you may need to sand them down a bit. Make sure to re-insert the rubber covers.
Take tweezers to remove the black ring of the joystick hole of the Joy-Con controller, then place it on the new case by lining up the holes and pegs correctly. Remember the tiny wires over the minus button? Make sure to screw those back over and replace the board and white block. Finally, screw back on the board and ta-da! Don’t forget to mess around with the buttons and joystick to make sure they’re all functioning correctly. If everything feels right, go ahead and replace the joystick in the appropriate hole and screw it in. Don’t forget to tighten the screws.
As for the track on the left Joy-Con controller, all you need to do is remove a screw from the track to remove it, then move the release button onto the new case then place the track on. The next steps aren’t as simple however. Moving onto the inner case, the ZL button needs to be removed and in order to do so, press down the bottom and remove it by pulling away from the case – preferably with the pry tool or other handy tools you prefer. BE WARNED, attempting to pull it straight up could result in permanent damage. Successfully removing the ZL button means it will pop out, but make sure the 2 springs underneath are placed carefully to the side. Don’t lose it!
Remove the philips head screw that holds the ZL wiring and move it to the new case by screwing it in the corresponding area. To replace the ZL button, place each of the two springs mentioned above onto the little peg on the case. Make sure to line them up correctly with the pegs beneath the button then carefully push the button and press it back in place in reverse. In order words, place it in the exact opposite way it was removed.
To reassemble the left Joy-Con in its entirety, place the L button back in place with the five cables locked in, and re-insert the case back over the board. As for the RIGHT Joy-Con controller for your new Nintendo Switch all sparkly and improved, the process is similar to the left with a few notable differences. First off, there’s an additional square (black) with a grey wire near the battery that needs to be removed very carefully. There are also 3 philip screws within the inner case, which are located differently. Finally, there are only 4 ribbon cables instead of the 5 in the left Joy-Con. Otherwise, the process of placing the new Nintendo Switch cover is exactly the same!
That’s all there is to it. It certainly won’t be easy for most, but it’s a worthwhile effort for an improved and unique-looking console. What do you think of trying out this new Nintendo Switch mod for yourself? Have you seen others attempt something similar? Let us know in the comments section below or start a conversation on Don’t Feed the Gamers Facebook page. To stay up to date on gaming news as it happens, follow us on Twitter! Here’s some of our latest:


Hoi Duong2131 Posts
Hoi is an elusive figure at DFTG, whose favorite past-times include chillin' in the Fade, reading manga, watching anime, collecting novelty items, and gaming.